How to configure a private OpenVPN server (+ client)
September 18, 2021 8 min read
Late September is the time of parliament elections in Russia. 2 weeks prior to the elections Russian government has banned several major VPN providers in order to prevent users from accessing banned opposition websites, through which dissidents coordinate counter-measures against divide-and-conquer tactics, employed by the regime. In this post I'll explain, how to set up a basic OpenVPN server and configure a client to overcome this obstacle.
Plan
We aim to install our own VPN server software on a Linux server somewhere outside the Iron Curtain, and then connect to it via VPN clients from our devices to visit the websites, banned in Russia. I am not going to set up LDAP or Radius authentication backends here, as this is a basic scenario for personal use only. I will not cover the network and firewall configuration in this post either, however, this process is also covered in DigitalOcean instruction.
In order to confiture OpenVPN server and client, we are going to perform the following steps:
-
Install OpenVPN server via openvpn-install.sh script.
-
Review the configuration.
-
Generate client keys and certificates.
-
Generate VPN client profile (.ovpn-file).
-
Download an OpenVPN client, import .ovpn-file. Run VPN. Visit a banned website.
I used Debian-based Linux distributions for installation of OpenVPN server. However, mostly the same plan should work at least for other Linux distributions.
There is a nice road warrior installation script for OpenVPN server, called openvpn-install.sh, which automates many steps of OpenVPN configuration for you. However, if you want to go fully-manual, follow this DigitalOcean instruction, which performs every step manually. I used the automated script to save many hours of typing and debugging.
1. Install OpenVPN server via openvpn-install.sh script
Download and run the openvpn-install.sh script:
wget https://git.io/vpn -O openvpn-install.sh
sudo bash openvpn-install.sh
2. Review the configuration
The script has automatically installed OpenVPN server software. Its configuration resides in /etc/openvpn folder, while some pieces of
documentation are available in /usr/share/doc/openvpn/examples/ (on Debian at least).
The server-side configuration, that interests us, lives in /etc/openvpn/server.
The main server configuration file is /etc/openvpn/server/server.conf (on Debian). It contains documentaiton lines, explaining its options, and refers to multiple security-related files, which I’ll describe further.
Server configuration directory contains the following generated security-related files:
/etc/openvpn/server/ca.key- private key of certificate-signing authority (CA); CA was created for us by theopenvpn-install.shscript; its purpose is to sign both VPN server and VPN client private keys with CA certificate, so that they could mutually authenticate each other, knowing that only the holder of server/client private keys could emit a server/client certificate, and only CA could’ve signed it, ensuring that no man-in-the-middle attack is in place/etc/openvpn/server/ca.crt- certificate of certificate-signing authority itself; should be present in server side and/etc/openvpn/server/server.key- private key of your VPN server (so that only VPN server can sign anything with it)/etc/openvpn/server/server.crt- certificate of your VPN server (so that VPN client can trust it by recognizing it)/etc/openvpn/server/dh.pem- preferred Diffie-Hellman parameters, not secret/etc/openvpn/server/ta.key- security key for signing packets with HMAC signature, while using tls-auth security directive
Also note that the server configuration directory contains the whole EasyRsa suite in /etc/openvpn/server/easy-rsa/ folder. We can use its /etc/openvpn/server/easy-rsa/easyrsa executable script to generate client key/certificate pairs.
They and other assets will appear in /etc/openvpn/server/easy-rsa/pki subfolders, depending on their type.
3. Generate client keys and certificates
Alright, let us use easyrsa to generate a key/certificate pair for our new client.
Suppose, you want to create a private key/certificate pair for a client, named “burkov”. You need to run the following commands in the /etc/openvpn/server/easy-rsa folder, using your easyrsa suite:
./easyrsa gen-req burkov-mac nopass
This will generate a private key /etc/openvpn/server/easy-rsa/pki/private/burkov-mac.key and a certificate request /etc/openvpn/server/easy-rsa/pki/reqs/burkov-mac.req that needs to be signed by the signing authority.
You can sign the certificate request with command:
./easyrsa sign-req client burkov-mac
This will generate a certificate file /etc/openvpn/server/easy-rsa/pki/issued/burkov-mac.crt.
You will need it in order to generate the .ovpn file.
4. Generate VPN client profile (.ovpn-file)
Now it is time to create your client’s profile configuration file, .ovpn-file, that you will use on your device (phone, personal computer) to connect to VPN server.
openvpn-install.sh contains a function that generates .ovpn-file based on a template.
Alternatively, you can create a simple bash script that generates .ovpn configs for you. I used the second approach, again, following the DigitalOcean instruction.
Create a folder ~/client-configs on your VPN server machine and recursively set permissions to 700 on it: chmod -R 700 ~/client-configs.
Create a simple bash script ~/client-configs/make_config.sh of the following content:
#!/bin/bash

# First argument: Client identifier
# Copy-pasted from: https://www.digitalocean.com/community/tutorials/how-to-set-up-an-openvpn-server-on-debian-10

KEY_DIR=/home/burkov/client-configs/keys
OUTPUT_DIR=/home/burkov/client-configs/files
BASE_CONFIG=/home/burkov/client-configs/base.conf

cat ${BASE_CONFIG} \
    <(echo -e '<ca>') \
    ${KEY_DIR}/ca.crt \
    <(echo -e '</ca>\n<cert>') \
    ${KEY_DIR}/${1}.crt \
    <(echo -e '</cert>\n<key>') \
    ${KEY_DIR}/${1}.key \
    <(echo -e '</key>\n<tls-auth>') \
    ${KEY_DIR}/ta.key \
    <(echo -e '</tls-auth>') \
    > ${OUTPUT_DIR}/${1}.ovpn
It will automatically generate client .ovpn-files from a template client configuration file (~/client-configs/base.conf) and secret files in ~/client-configs/keys folder and emit .ovpn files in ~/client-configs/files.
The script requires a client configuration template file ~/client-configs/base.conf. You can copy its contents from /usr/share/doc/openvpn/examples/sample-config-files/client.conf and tweak some settings to match your server.conf. Don’t forget to set the following directives in base.conf: remote mywebiste.com 1194 - to point to your VPN-server and key-direction 1. Don’t forget to comment out ca, cert and key directives, as your script make-config.sh will copy-paste those secrets into the template inline.
The script also requires that you created sub-folders ~/client-configs/files and ~/client-configs/keys.
Put the following files into the ~/client-configs/keys sub-folder:
- your client’s private key (
burkov-mac.keyin my example) - your client’s signed certificate (
burkov-mac.crtin my example) - certificate authority’s certificate (
ca.crt) - TLS auth static key for HMAC signatures (
ta.key)
Now, run the script: ~/client-configs/make-config.sh burkov-mac. It will generate ~/client-configs/files/burkov-mac.ovpn VPN client profile.
5. Download an OpenVPN client, import .ovpn-file, run VPN, visit a banned website
Copy-paste your .ovpn client profile file to your client device.
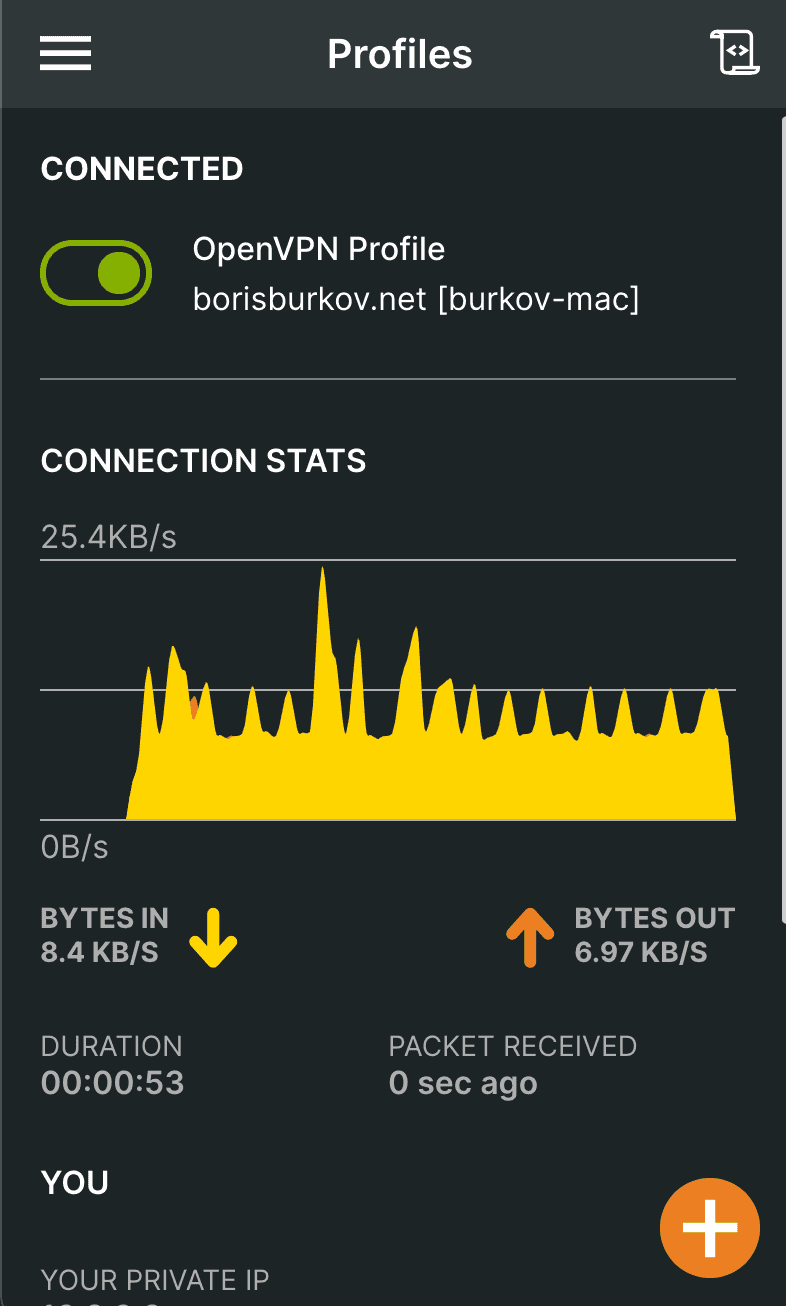
Install an OpenVPN client, suitable for your OS. For instance, I used this official client on my Mac.
Import .ovpn file into it and run VPN. Voila:
What the future holds?
Apparently, Putin’s government has a long-term roadmap for achieving “internet sovereignty” - i.e. establishment of total control and censorship over Runet.
On September, 3rd, multiple popular VPN providers were blocked by Russian government. I don’t have any inside information on the exact mechanism of blockade, but there are opinions that popular VPN providers, such as NordVPN, are using an advanced VPN protocol, called WireGuard, and the whole WireGuard protocol is being blocked. WireGuard is a nicer, slimmer VPN protocol than OpenVPN or IPsec, it is natively supported by the Linux kernel and has a tiny codebase.
Starting from 2018, internet providers in Russia are forced to purchase Deep Package Inspection (DPI) equipment that allows to intercept unwanted traffic. It seems that its country-wide adoption is planned by the Russian government. After that we can expect that other types of protocols (e.g. such as Distributed Hash Tables, used in Torrents) may be blocked partially or completely.
Currently, it is a good practice to change the VPN port to a non-well-known one, as DPI is often not really used thus far, and internet service providers often just block traffic by the port number, not by actual inspection of package headers. Don’t relax just yet, though - things are getting worse, and they’ll come after us sooner or later.
References
- https://www.digitalocean.com/community/tutorials/how-to-set-up-an-openvpn-server-on-debian-10 - a great in-depth tutorial on the whole process of OpenVPN installation
- https://www.cyberciti.biz/faq/install-configure-openvpn-server-on-debian-9-linux/ - on installation through openvpn-install.sh script
- https://openvpn.net/client-connect-vpn-for-mac-os/ - official MacOS OpenVPN client
- https://zona.media/article/2021/09/13/rknvsvpn (in Russian) - technical details on how current VPN blocking works
- https://habr.com/ru/news/t/576128/ (in Russian) - news about 6 popular VPN providers being blocked.

Written by Boris Burkov who lives in Moscow, Russia, loves to take part in development of cutting-edge technologies, reflects on how the world works and admires the giants of the past. You can follow me in Telegram

